How to Use Wave Accounting Software: A Beginner’s Guide
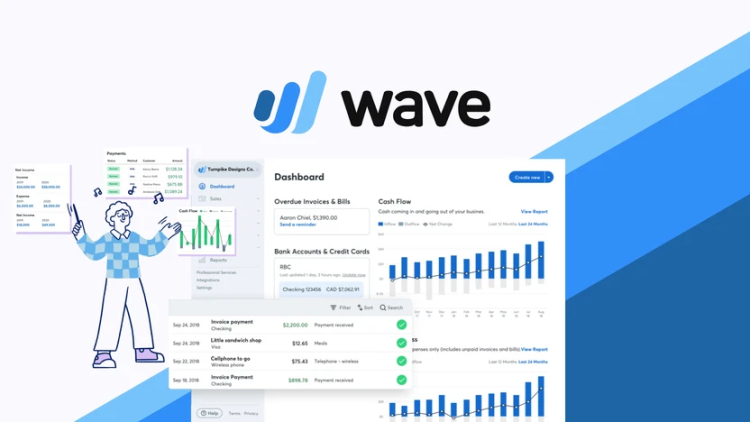
Wave Accounting is a powerful yet free tool for freelancers and small business owners. This beginner’s guide walks you through how to set up your Wave account, send invoices, track expenses, and run financial reports. New to Wave Accounting? This easy tutorial helps freelancers and small business owners set up their account, connect banks, send invoices, and track finances without needing accounting experience.

For freelancers, entrepreneurs, and small business owners, managing finances can seem overwhelming — especially if you’re just getting started. But with the right tool, bookkeeping doesn’t have to be complicated. Wave Accounting Software offers an intuitive platform designed for non-accountants, and in this beginner’s guide, we’ll walk you through exactly how to get started.
Step 1: Create Your Free Wave Account
-
Visit waveapps.com
-
Click on “Get Started” and sign up with your email address and password
-
Choose your business type, country, and currency
-
That’s it — your Wave dashboard is now ready
Step 2: Set Up Your Business Profile
-
Go to Settings > Business Settings
-
Fill out your business name, contact details, logo, and preferred invoice style
-
Set your fiscal year start date and default sales tax if applicable
This ensures your invoices and reports reflect your branding and tax setup.
Step 3: Connect Your Bank Account
-
Go to Banking > Connected Accounts
-
Add your business bank account or credit card
-
Wave will automatically import and categorize your transactions
This feature saves time and ensures your books stay updated in real time.
Step 4: Create and Send Invoices
-
Click on Sales > Invoices > Create an Invoice
-
Add customer information, service/product details, and pricing
-
Choose due dates, payment terms, and tax details
-
Send the invoice directly via email from within Wave
You can also set up recurring invoices and automatic payment reminders.
Step 5: Track Income and Expenses
-
Imported bank transactions will appear under Transactions
-
You can manually enter cash or non-bank expenses here as well
-
Categorize each transaction correctly (e.g., Advertising, Office Supplies)
-
Use filters to review income vs. expenses and keep your accounts organized
Step 6: Upload Receipts (Optional)
-
Use the Wave mobile app to scan receipts
-
Receipts will sync with your Wave dashboard for easy expense tracking
This feature is especially useful for freelancers on the go.
Step 7: Run Financial Reports
-
Navigate to Reports
-
View important financial reports such as:
-
Profit & Loss Statement
-
Balance Sheet
-
Cash Flow Statement
-
-
Download reports in PDF or CSV for tax filing or analysis
These reports help you understand your business health at a glance.
Bonus: Accept Online Payments
-
Enable Wave Payments to accept credit card and bank payments directly from your invoices
-
Funds are deposited to your bank account after processing (small fee applies)
This can improve cash flow and make it easier for clients to pay you.
Final Tips for Beginners
-
Log in weekly to review transactions and update categories
-
Use Wave’s reminders to follow up on unpaid invoices
-
Back up your data regularly (even though Wave stores it securely)
-
Watch the free tutorials available on Wave’s Help Center
Conclusion
Wave Accounting makes it easy for beginners to handle their business finances without hiring a professional. With this step-by-step guide, you’ll be able to set up your account, send invoices, track expenses, and generate reports — all within minutes.
Whether you’re a freelancer starting out or a small business owner looking for a no-cost accounting tool, Wave provides everything you need to stay financially organized and stress-free.
What's Your Reaction?


