How Do I Use Wave Accounting Software?
Learn how to use Wave Accounting Software with this beginner-friendly tutorial. From setting up your account to sending invoices and tracking expenses, discover how to manage your finances like a pro — for free. New to Wave Accounting? This easy guide shows freelancers and small business owners how to set up Wave, send invoices, track expenses, generate reports, and manage money smartly.

How Do I Use Wave Accounting Software?
If you're a freelancer, entrepreneur, or small business owner searching for a simple, free accounting tool, Wave Accounting Software is one of the most user-friendly options available. But if you're just getting started, you might be wondering: How do I actually use Wave Accounting Software?
In this guide, we’ll walk you through the essential steps to start using Wave effectively — no accounting degree required.
1. Create Your Free Wave Account
Start by visiting waveapps.com. Click “Get Started” and follow these steps:
-
Enter your email and create a password
-
Choose your business type (freelancer, consultant, etc.)
-
Select your country and currency
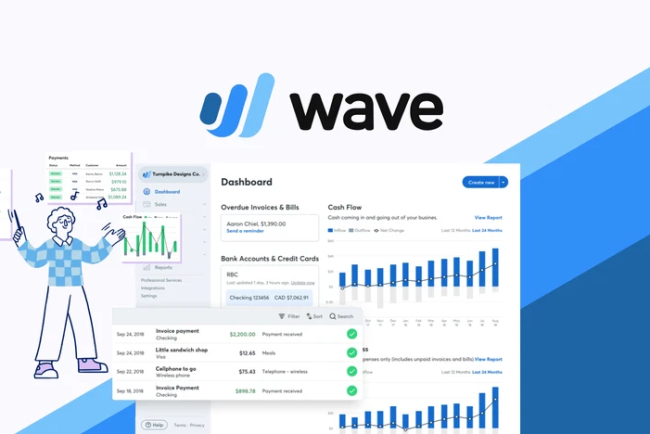
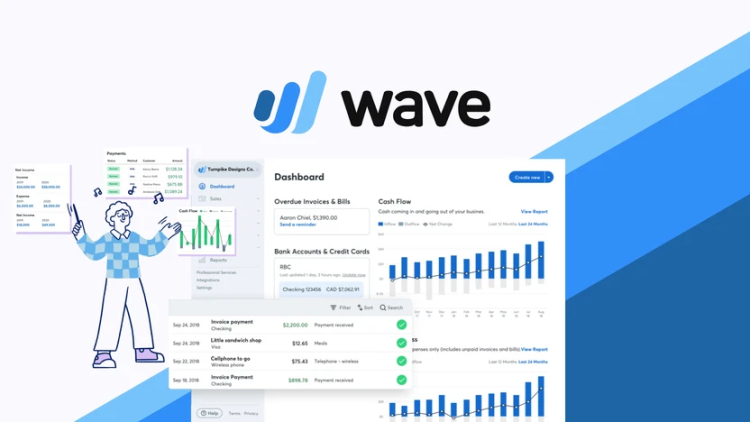
Once you’ve signed up, you’ll land on your personalized dashboard.
2. Set Up Your Business Details
Go to Settings > Business Settings and update:
-
Business name and contact info
-
Logo (for branded invoices)
-
Business type and industry
-
Default currency, timezone, and tax information
This helps ensure that your invoices, reports, and financial data reflect your brand and local compliance needs.
3. Connect Your Bank Account
Under Banking > Connected Accounts, you can securely link your bank and credit card accounts. This allows Wave to:
-
Automatically import your transactions
-
Categorize income and expenses
-
Keep your records up to date without manual entry
4. Create and Send Invoices
Wave makes invoicing incredibly easy:
-
Go to Sales > Invoices > Create an Invoice
-
Add customer details, products/services, pricing, and due dates
-
Apply taxes, if needed
-
Send directly to clients via email with payment links (if enabled)
You can also track when the invoice is viewed and paid.
5. Record and Categorize Transactions
Under Transactions, you’ll see:
-
Imported bank data
-
Manually added expenses or income
-
Options to add descriptions, attach receipts, and categorize (like “Advertising” or “Travel”)
Proper categorization keeps your books clean and ready for reporting or tax filing.
6. Upload Receipts (Optional but Useful)
Using the Wave mobile app, you can snap photos of your receipts and attach them to transactions. This helps you stay audit-ready and organized — especially when handling cash payments or travel expenses.
7. Generate Financial Reports
Go to Reports to access:
-
Profit & Loss Statement
-
Balance Sheet
-
Sales Tax Summary
-
Customer Statement
-
Cash Flow Report
These help you track business performance and prepare for taxes or funding.
8. Accept Online Payments (Optional)
Activate Wave Payments to:
-
Accept credit card or bank payments from clients
-
Get paid faster via online invoice links
-
Track and manage payments through your dashboard
Note: Transaction fees apply (e.g., 2.9% + $0.30 per credit card payment in the US).
Final Thoughts
Wave Accounting is built for simplicity. Even if you’re completely new to bookkeeping, it allows you to handle your finances professionally — from invoicing to expense tracking — without hiring an accountant.
By following the steps above, you’ll be well on your way to managing your business finances confidently using Wave.
What's Your Reaction?